
Timeshift - Automated Backups
Easy backups on Linux with Timeshift
As someone who likes to tinker with their system, sometimes things can go wrong. While setting a fresh install itself does not have to take much time, losing all carfully tweaked configurations and installed software can be quite annoying.
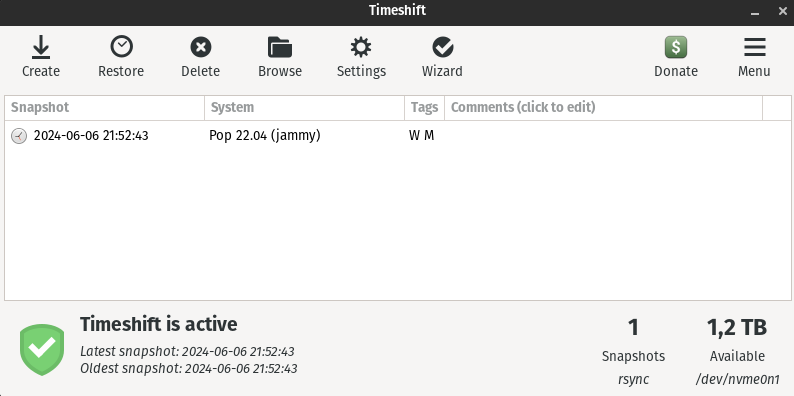
Timeshift is a really nice tool which automates the processs of creating snapshots of your system, so you can easily restore it to a previous state.
Installation
Timeshift is available in the official repositories of most distributions, so it can easily be installed using the package manager of your distribution.
Ubuntu/Debian:
sudo apt install timeshift
Fedora:
sudo dnf install timeshift
Arch:
sudo pacman -S timeshift
Usage
Timshift can be used via terminal and also offers a graphical user interface. You can simply launch the GUI via the application menu or in the terminal by running the following command:
sudo timeshift-launcher
First select a snapshot type, either RSYNC or BTRFS. Both have their advantages and disadvantages, however I can recommend using RSYNC for most users for comaptibility reasons and ease of use.
Then select a location where the snapshots should be stored. This can be an external drive, a separate partition or a folder on your system. Depending on how many snapshots you want to keep, you should make sure to have enough space available. In my case I have an external drive mounted which I use for backups.
After that you can configure the schedule for the snapshots, which can be done monthly, weekly, daily, hourly or even after every boot. Adittionally you can set the number of snapshots to keep, so older snapshots get deleted automatically. You can also create snapshots manually at any time.
Lastly you can include or exclude certain directories from the snapshots. Take note that user home directories are excluded by default.
Restoring a snapshot
In case you need to restore a snapshot and your system is not bootable anymore, you can use a live USB to boot into a live environment and install Timeshift. Then you can go through the setup process again to select the location of the snapshots and restore the system to a previous state.
Troubleshooting Tips
During my setup I encountered an issue where ‘rsync’ failed to create new snapshots.
The error message was:
E: rsync returned an error
E: Failed to create new snapshot
Failed to create snapshot
This was resolved by adjusting the ownership and permissions of the backup directory. If you encounter a similar issue, you can try the following commands:
sudo chown -R $USER:$USER /run/timeshift/backup
sudo chmod -R 755 /run/timeshift/backup
This ensures Timeshift has the necessary permissions to write to the backup directory.
Conclusion
Timeshift is a great tool for automating backups on your personal computer. Personally I luckily did not have to resort to restoring a snapshot yet, but it is good to know you do not have to worry about for example breaking something after a system update and it is a minimal effort to set up.